If you are someone who is crafty and is looking for a way to spruce up your home decor or something to make as an early Valentine’s gift for your loved ones, DIY candles might be your answer! Candles can be so fun and easy to make because you can control what goes into them, such as your favorite scents, colors, or designs! Now, get your supplies ready and read the list of steps we crafted on how to make candles at home.
Supplies:
-
1 package of candle-making soy wax
-
1 package of large candle wicks
-
1 bottle of fragrance oil
-
1 Spatula
-
1 heat-proof container
-
1 double boiler, hot plate, or electric stove
-
Thermometer
-
A pair of Chopsticks or pencil
Step 1: Measure Wax
Make sure you have a clean, flat surface to work on and protect the area with newspaper or paper towels. Next, measure out how much wax you need to fill your container, then double that amount.
Step 2: Melt Wax
Set up a pot over a heated source, such as a double boiler, electric stove, or hot plate. Then, slowly pour the wax into your and let it melt for about 10 to 15 minutes. Make sure to stir frequently during this step.
Step 3: Add Fragrance Oils and Colors of Your Choice
Simply pour the fragrance and colors you choose into the melted wax and stir for a few seconds. The measurements for how much fragrance to add should be on your wax package.
Step 4: Attach The Wick
Attach the wick to the bottom of your container before you pour in the wax. The best way to attach the wick is by dipping it in the melting wax and quickly sticking it to the container. Let the wick sit for 5 minutes to harden.
Step 5: Transfer Wax
Before you pour the wax into the container, make sure the temperature on the thermometer is at 140 degrees. When it is ready, slowly pour the wax into the container while you hold the wick in place. Make sure to leave a small amount of wax in the boiler for topping off your candle later!
Step 6: Secure the Wick
Instead of letting the wick sway in the melting wax, secure it in place with two chopsticks across the top of the container and sandwich the wick in between so it stays centered while the wax hardens. Let the wax sit for four hours at room temperature.
Step 7: Add More Wax
If you notice cracks and holes in your candles, reheat and add your remaining wax, and let it harden.
Step 8: Cut the Wick
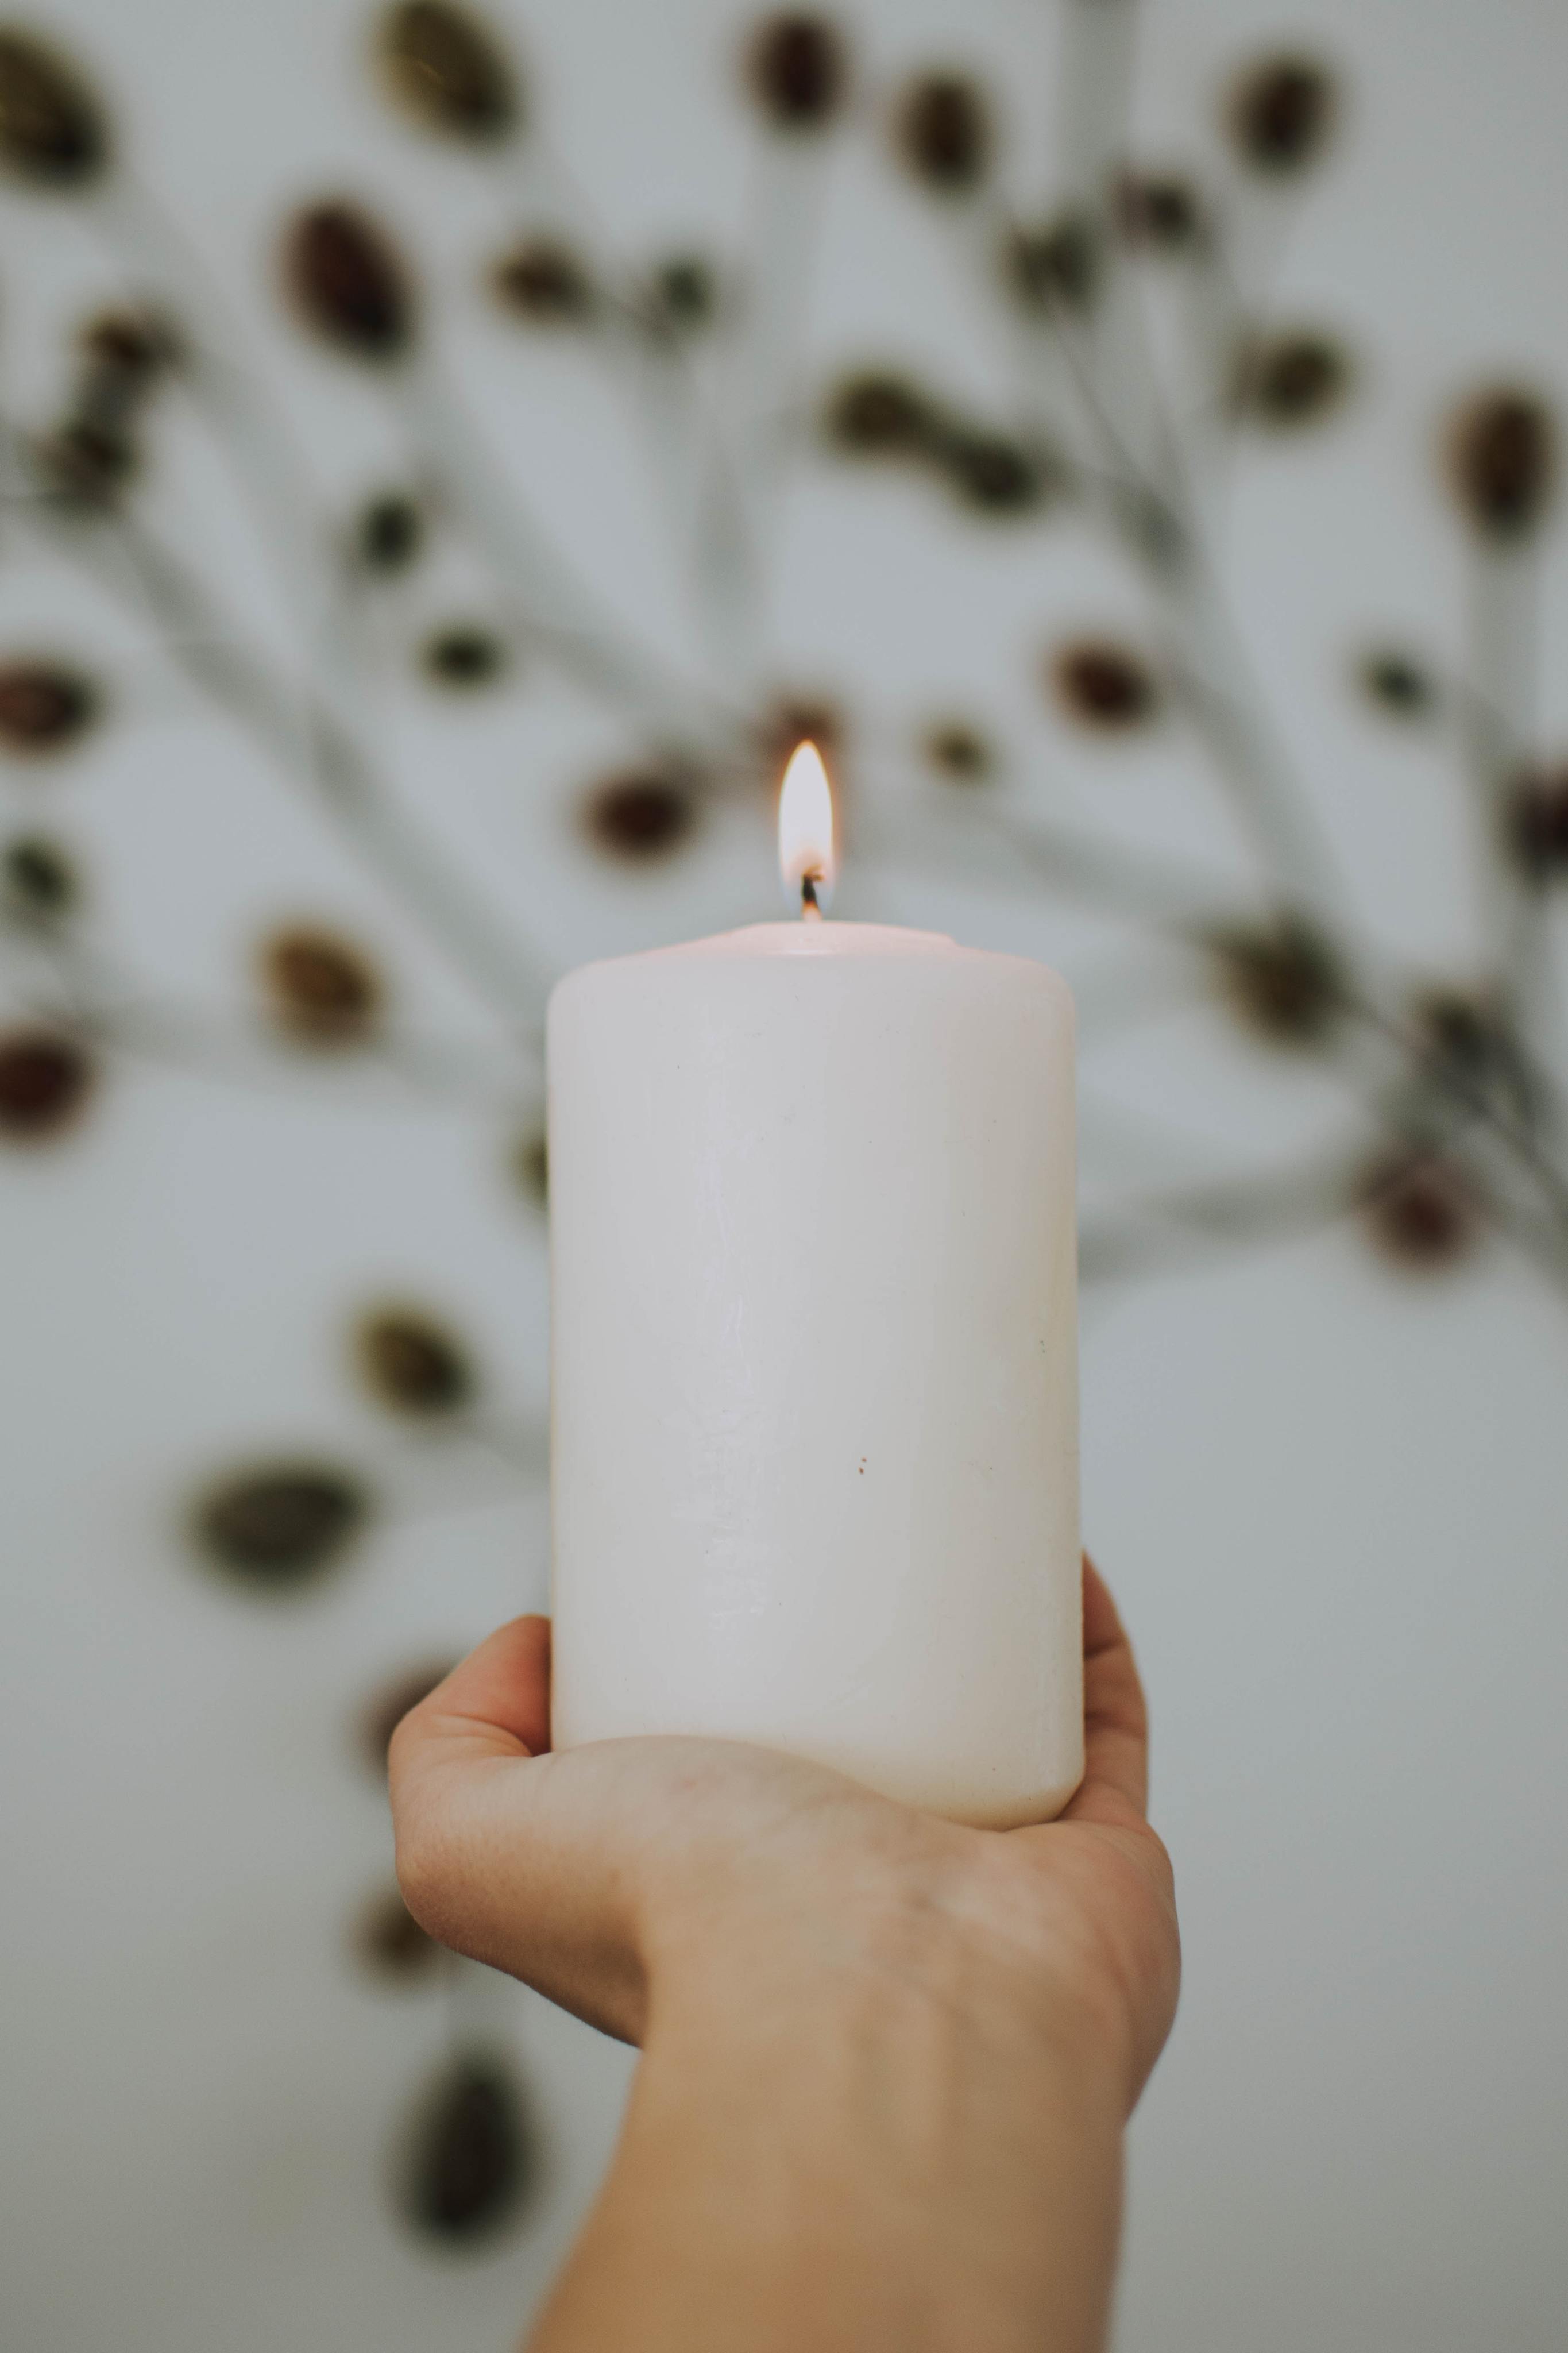
The wick should be shorter than half an inch long. A good way to test wick length is by lighting the candle. If it clickers or has a tall flam, trim the wick.
Now you have completed all the steps to creating candles at home! Feel free to add your own unique touches, like creating floral candles with dried petals from your favorite flower, or making colorful candles with chopped crayons. Let us know what your favorite fragrance is in the comments!